Invite users
To invite a new user or a guest user, click the (+) icon next to the menu item "Users" or in the user management on the sidebar menu. Then enter the user's first and last name, the e-mail address and the factro permission group. Click on "Invite" if the user should immediately receive an invitation by e-mail.

The invited user will receive an email from the factro Support Team with the subject "factro | Invitation". The invited person accepts the invitation via the "Accept invitation" button in the e-mail. Following that, the user will be redirected to the "Onboarding" of factro. Here, your colleagues can register for the first time or log in with an existing factro account (if available).

Save user
If you want to store the user in factro for planning purposes without sending an invitation directly, click on "Save" after entering the data. To send the invitation subsequently, click on the envelope item in the "Active" column. The input mask opens again and you can send the invitation.
Please note: If saved users are not appearing, make sure there is no filter set to hide them. If that is the case, click on the funnel item on the right of the bar and then on "Reverse" at the bottom of the screen.
Invite users with an existing factro account
If the invited users are already registered, they select the option "Already have an Account? Sign In.". Within factro, they can switch to the cloud they were invited to.
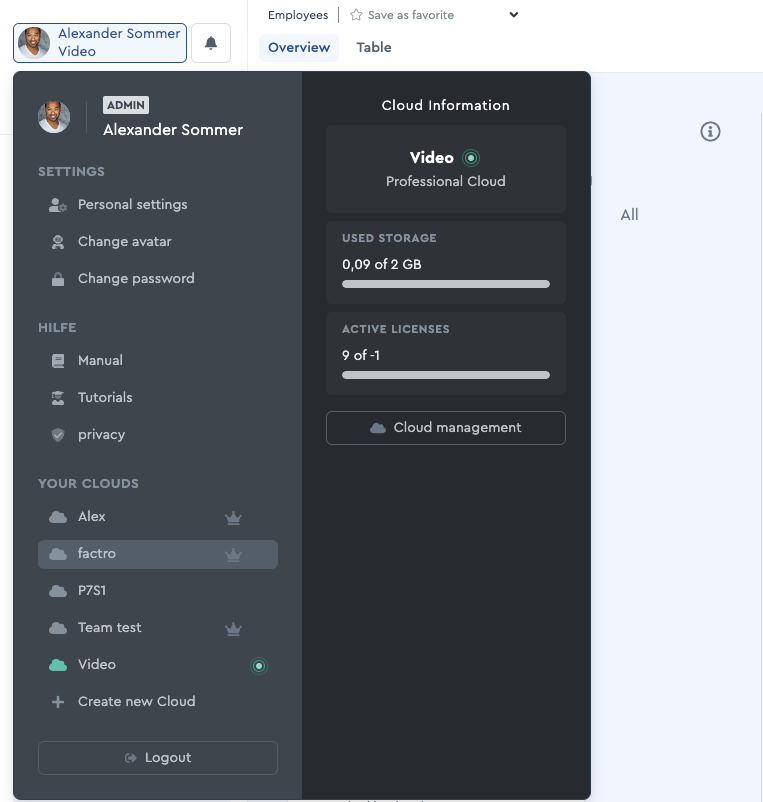 You can choose the factro Cloud you want to work in after clicking on the name in the upper left corner
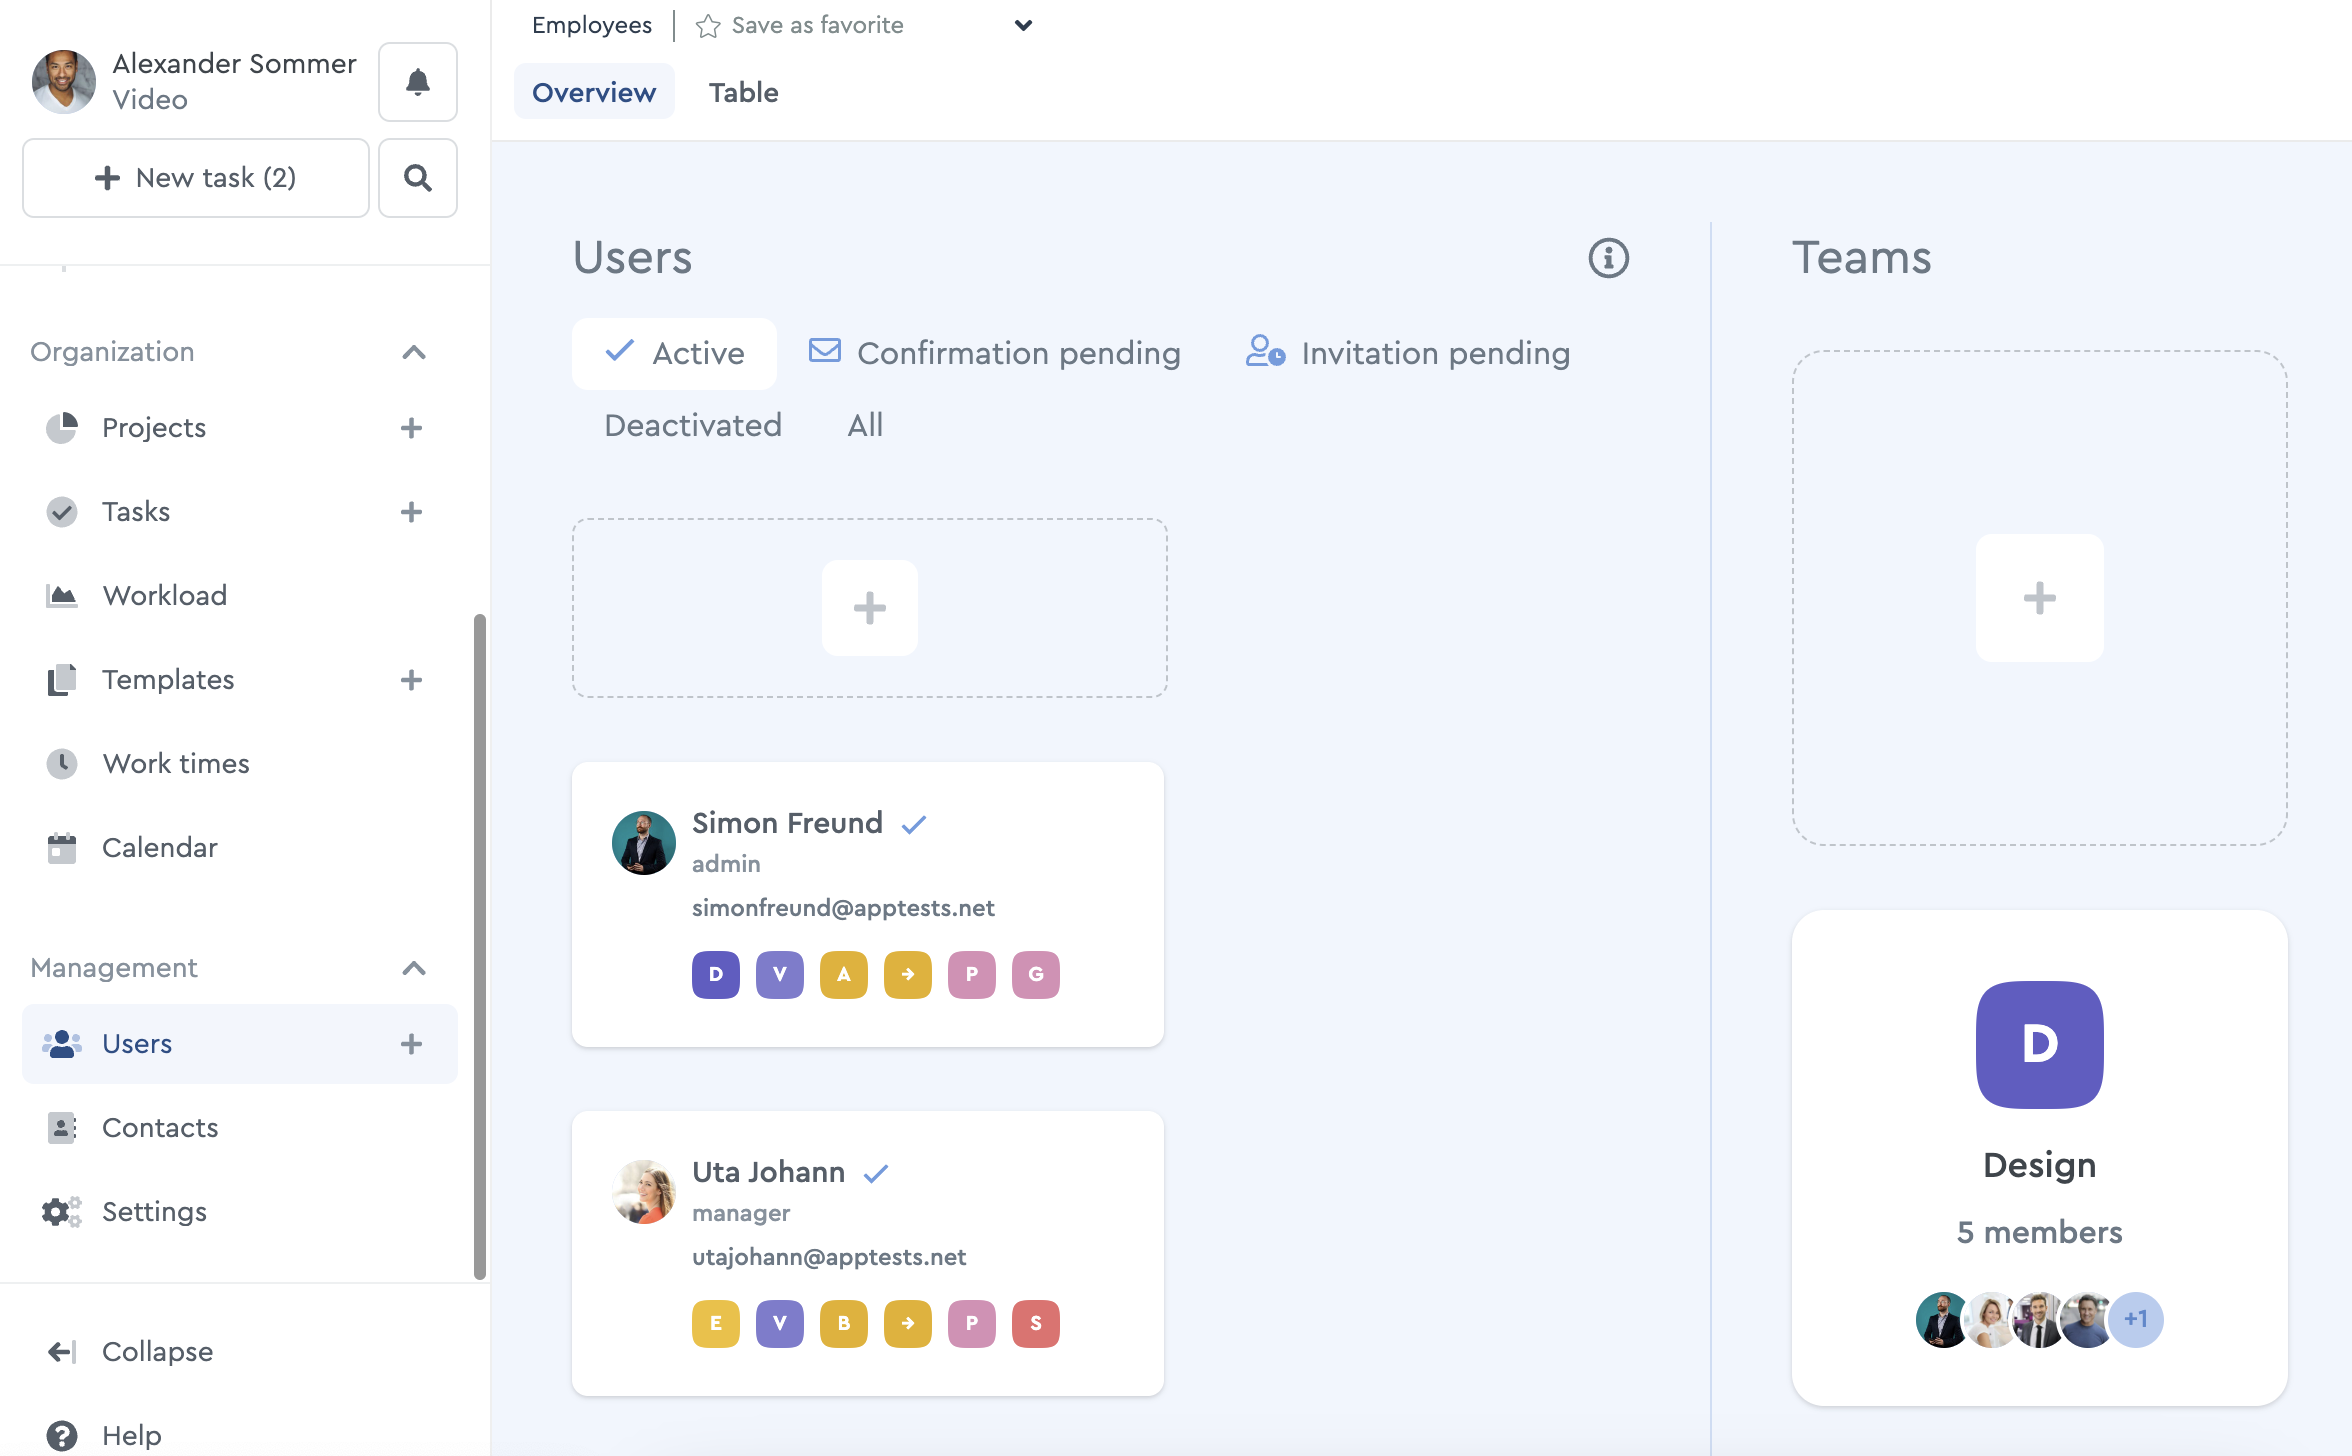
Manage users
In the user area, you will see the "Active" view by default, which shows all users who can work in your cloud on a regular basis. Furthermore, you have the possibility to manage additional users via the tabs next to it.
-
- Confirmation pending: Here you will find all invited users, who have not accepted your invitation yet.
- Invitation pending: Here you will find the users you have saved but not yet invited.
- Deactivated: Here you can find all users you have deactivated. These users have no access to the cloud and their rights do not apply, but you can reactivate them.
- All: Here you can find all users summarized, regardless of their status in the cloud.
Underneath the e-mail addresses of the users, you will find an overview of which groups they belong to. You can create a group in the user overview by clicking on the "+" in the "Teams" area.
If you prefer a tabular view of the user administration, you can select the "Chart" tab in the user area via the top menu bar.