
To configure individual views in factro, you can choose between three factro functions: filter, field list and groups. You can find them in any view via the function menu in the upper-right corner.
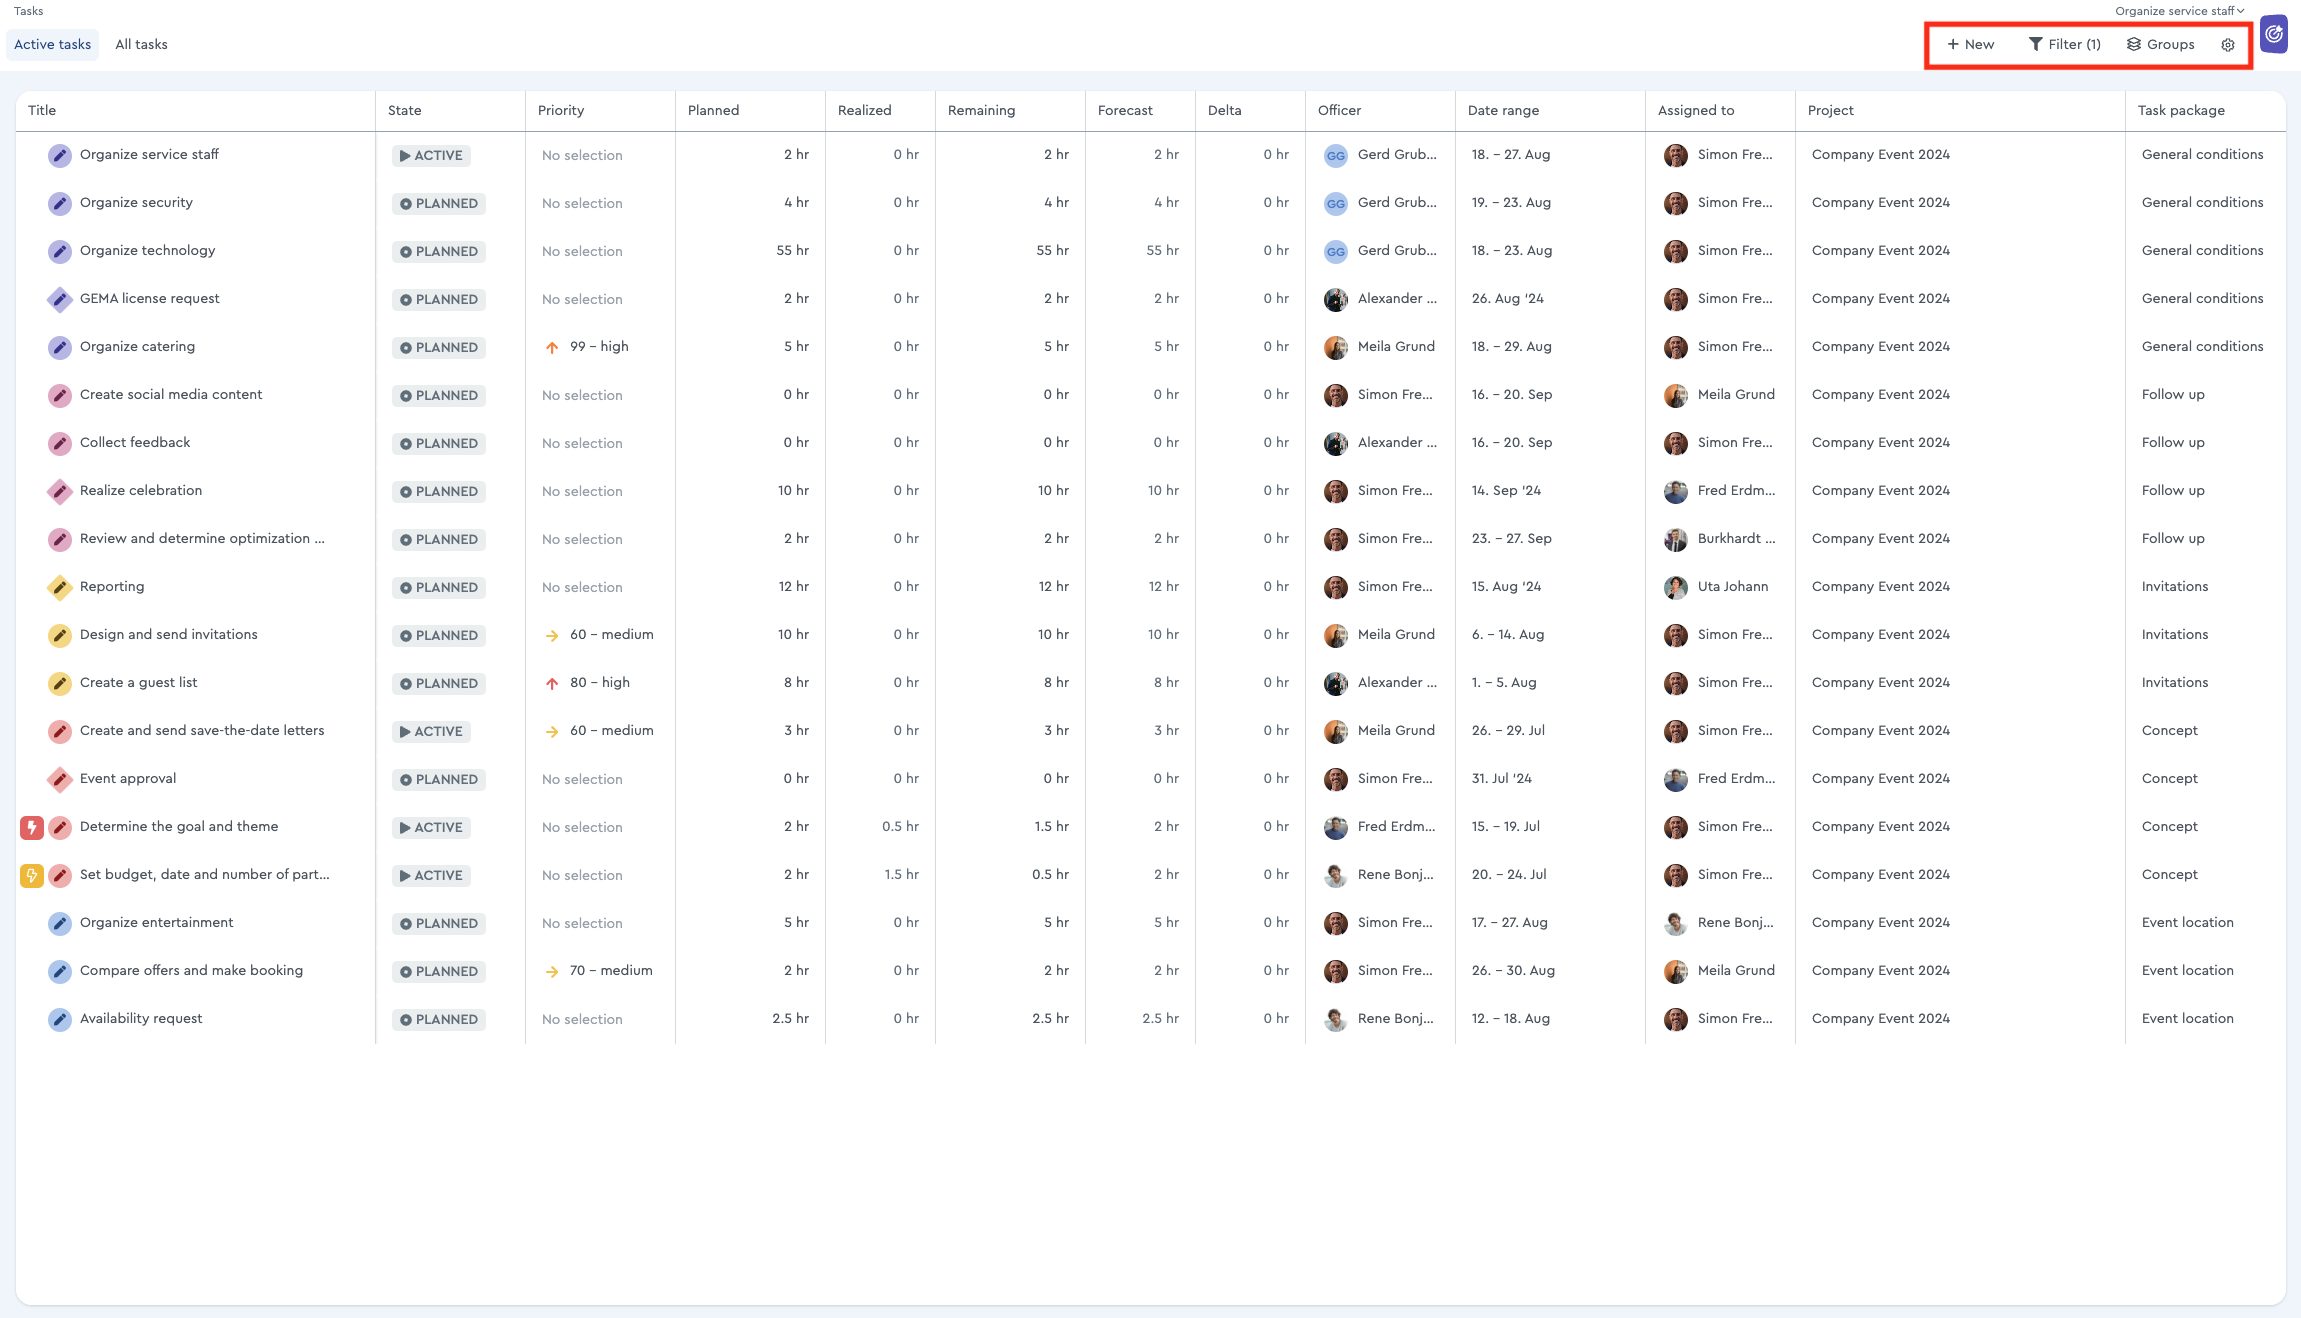
Via the function menu in the upper right corner you can access filters, groups and the field list
Filter Tasks
The filter function will help you to pick out the data you really need and to filter out those you do not need. It also works as a search function, provided you search for "Title/Number".
With the factro filter, you can – for example – filter your cross-project board views (starting with the Business Cloud) by project, time frame, or accountable individual. This allows you to represent workflows and configure the views to suit your needs, giving you a comprehensive overview of all projects.
In addition to filtering, you can also use group your view, for example to create a weekly schedule. To do this, filter the Team Board by assignee and group the columns by “Week” and “Due Date.”
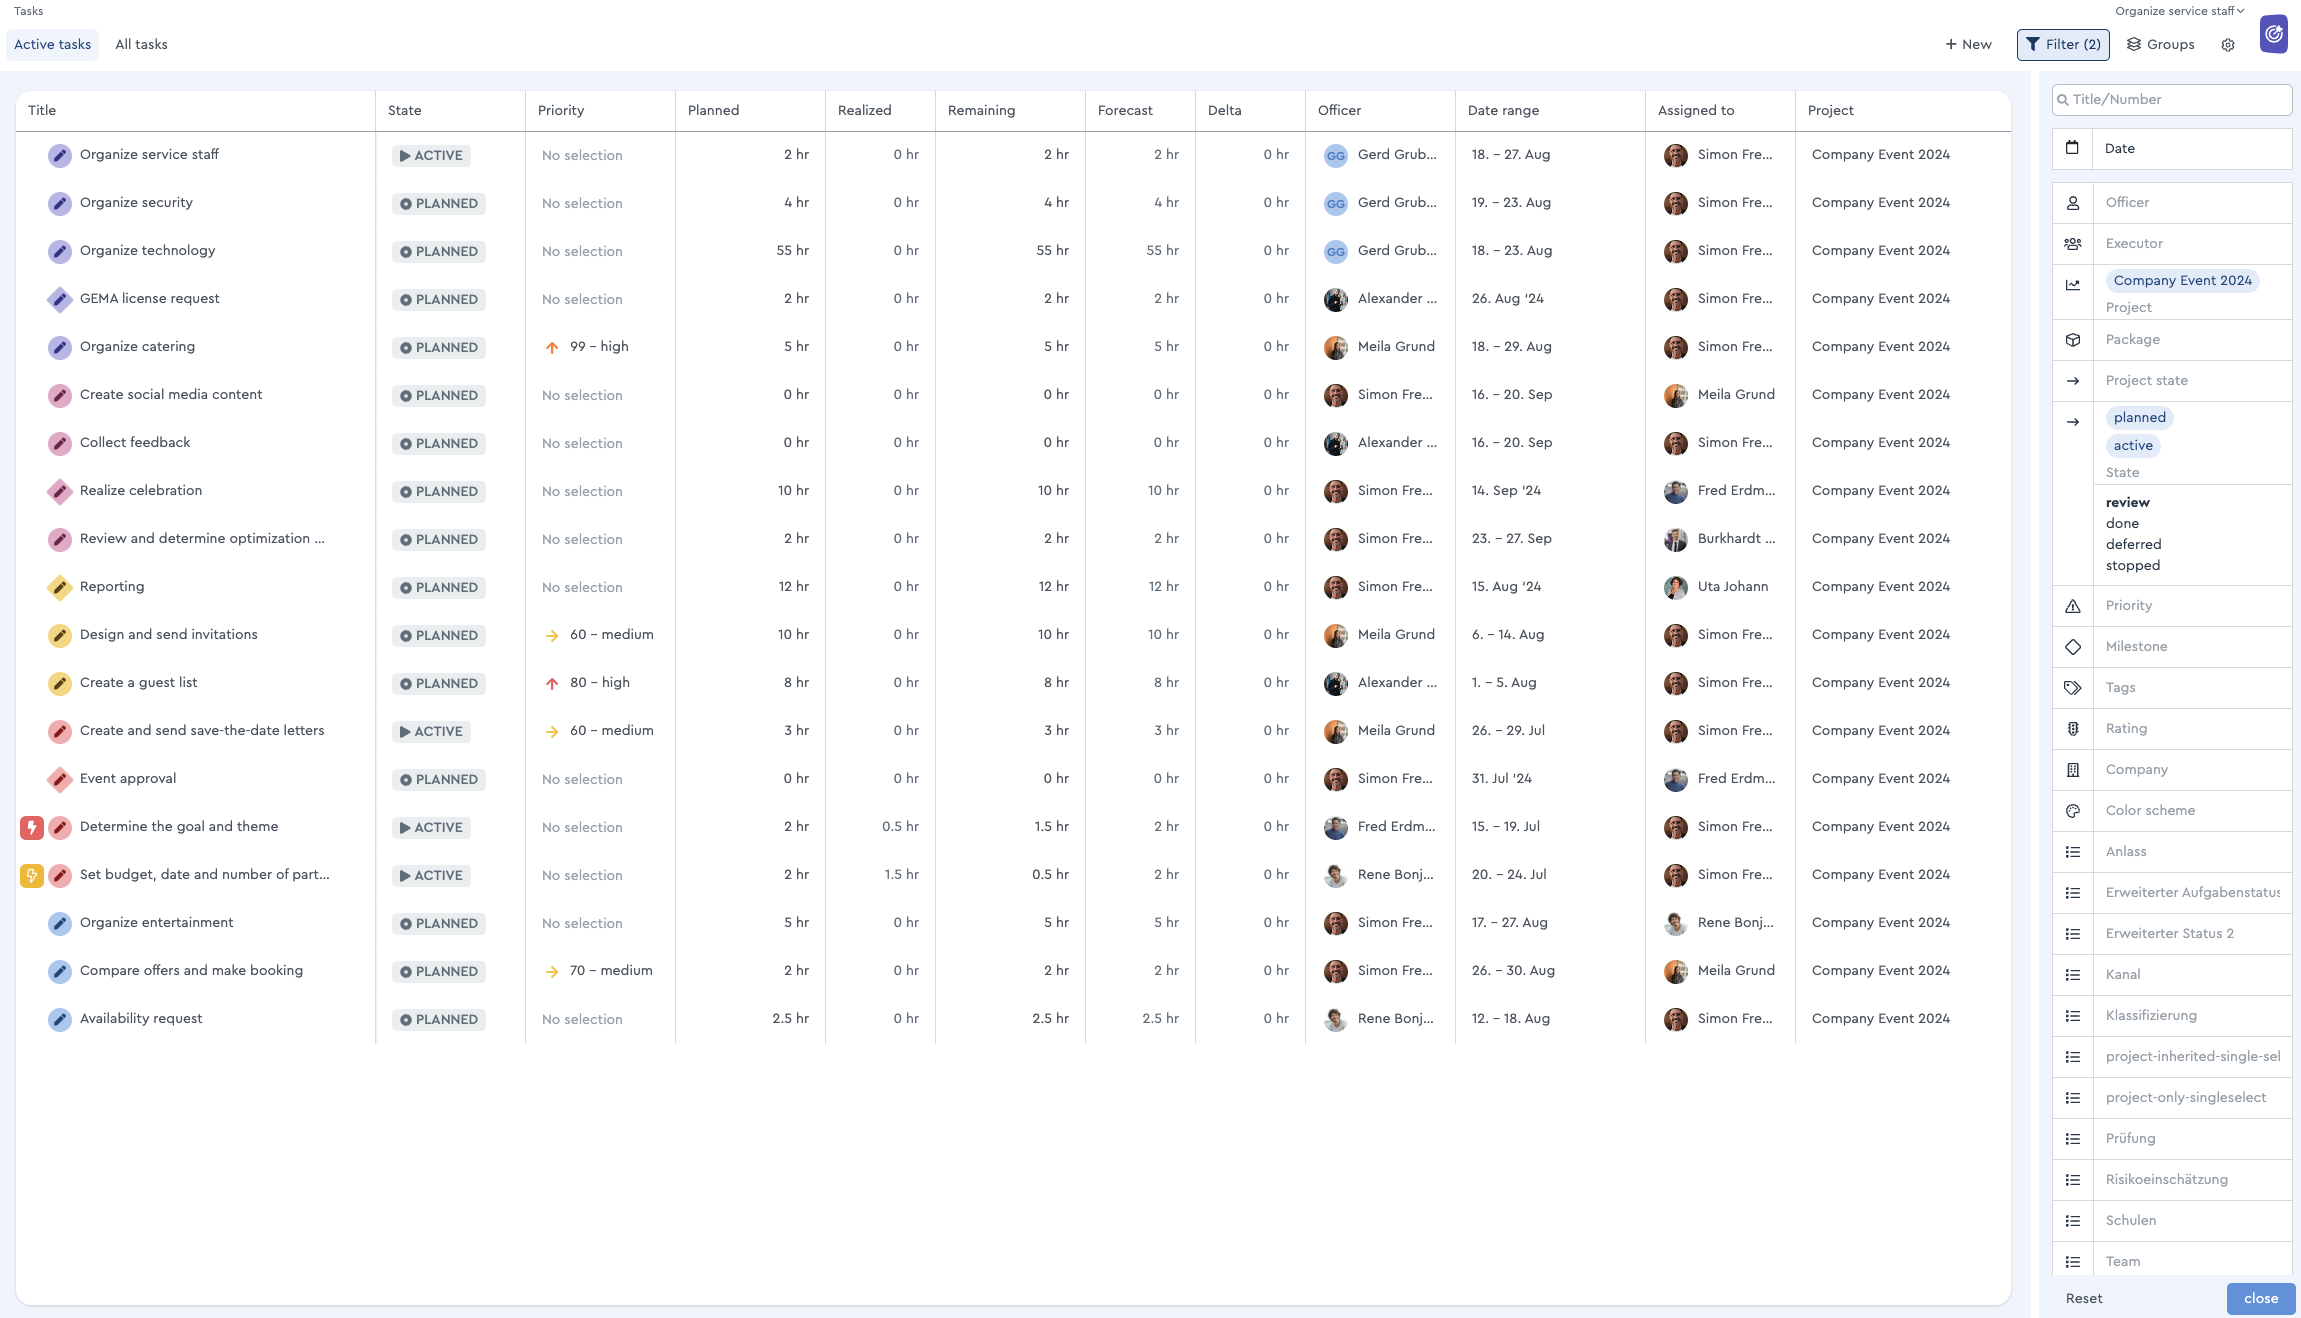
Of course, you can also filter project views such as the Work Breakdown Structure or the Gantt chart to see the relevant information displayed graphically. The filter works under an "Or"-condition, meaning that if you filter for two different tags, tasks with both or only one of the tags will be displayed.
Add filter
Under “Add more filters,” you will find additional criteria you can use to filter your view: time period, responsibility, assignee, package, status, priority, milestone, tags, traffic light status, company, color, and risk assessment. These filters can also be combined.
💡 When you select the filter “Package”, you can choose from all packages in the project. Active filters are displayed in the header and can be removed by clicking the “x.”
Sort Tasks
The sort function helps you arrange the filtered data according to your idea. You can sort tasks via the "field list" function in factro, which you will find after clicking on the settings wheel.
You can add additional columns like "No.", "Title" or "Planned-", "Actual-" and "Remaining Effort", or remove the columns you do not need. You can also use the "Show footer" option to display totals, such as the number of tasks or all efforts in your view. If you want to change the order, simply use the drag&drop function.
Afterwards, you can sort the data by clicking on ascending or descending order of the individual table columns, e.g. ascending by number or title. Via the lock, you can fix the grid so you can't change the order accidentally. Clicking on the lock again unlocks the fixation.
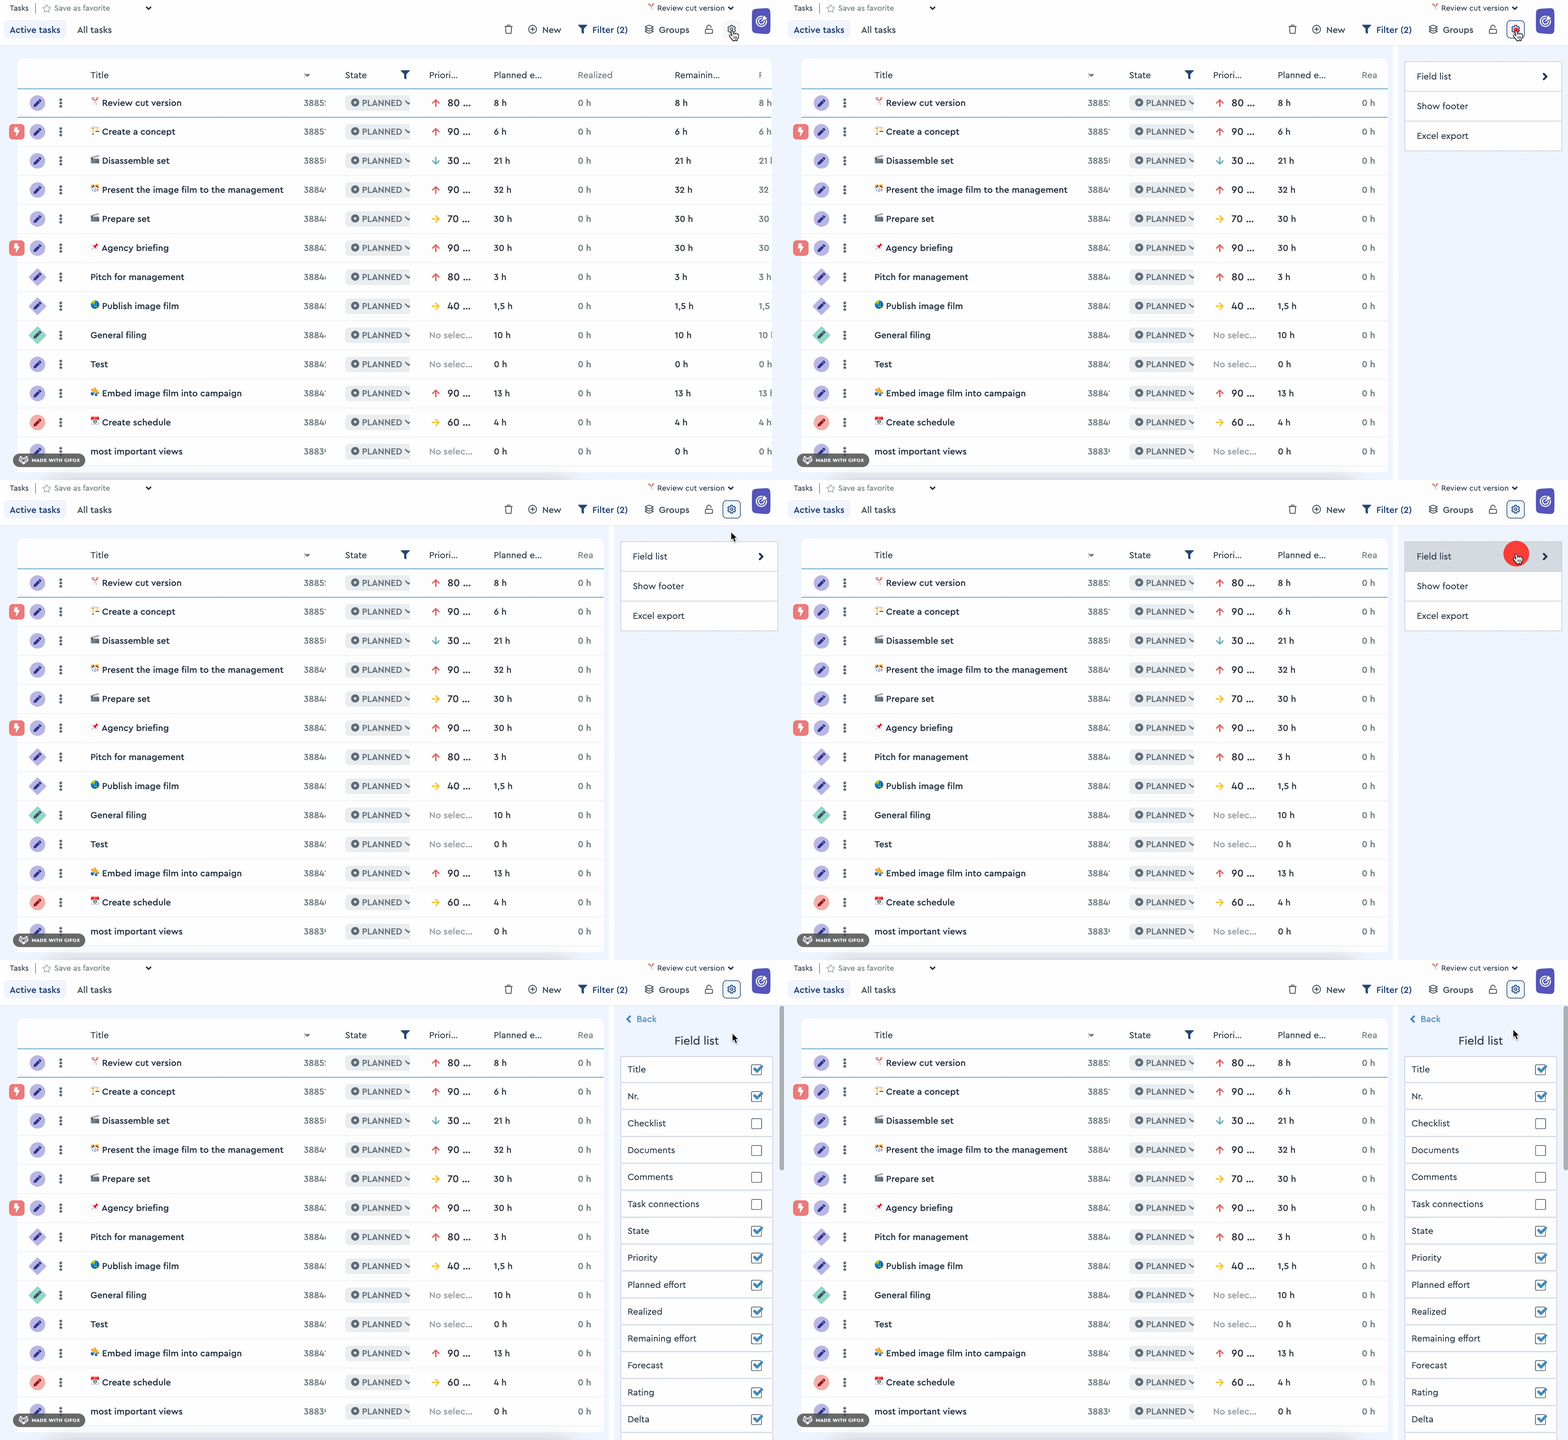 Sort tasks in factro
Group Tasks
You can use the "Groups" function if you want to arrange your filtered and sorted list or project view according to criteria that are useful to you. You can sort them by projects or task packages, for example, to gain a structured overview of your chosen tasks.
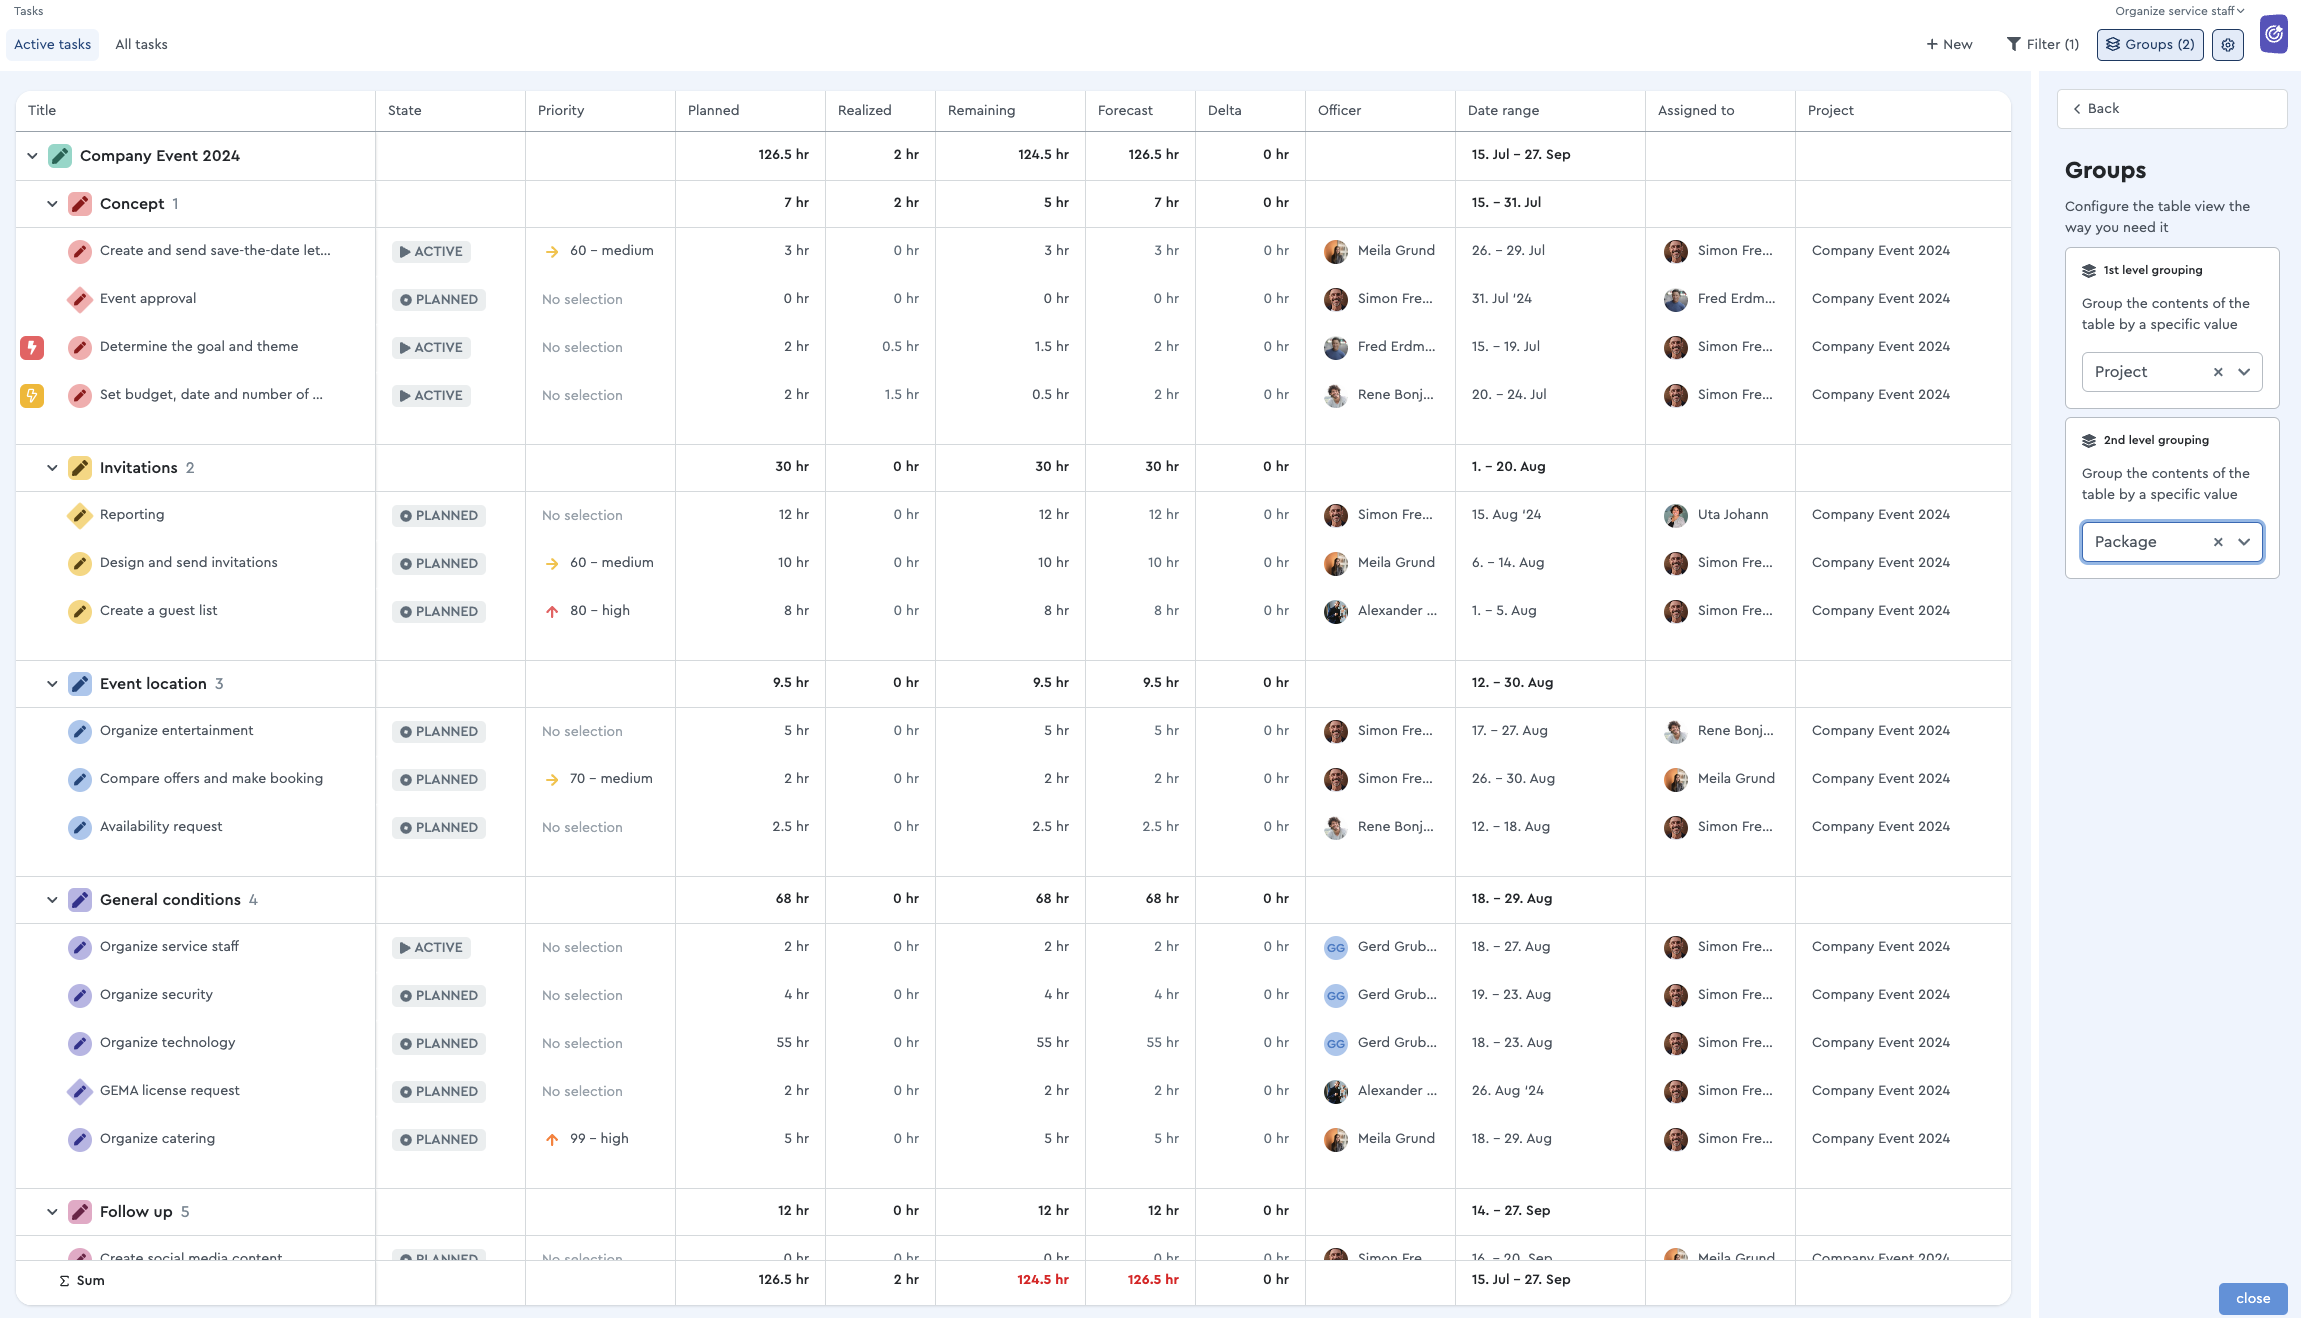 Group tasks in factro
To do this, you can define groups at the first and second levels. In our example, the first level groups by project and the second level by version. In the drop-down menu, you can select the parameters you want to use for grouping.