Requirement for the use
Whereas only the admin can create and edit custom fields, the project officer can choose from the already created fields and add them to their project.
Activate custom fields
As an admin, you can decide during the creation and editing process if a custom field should be used globally or for a specific project.
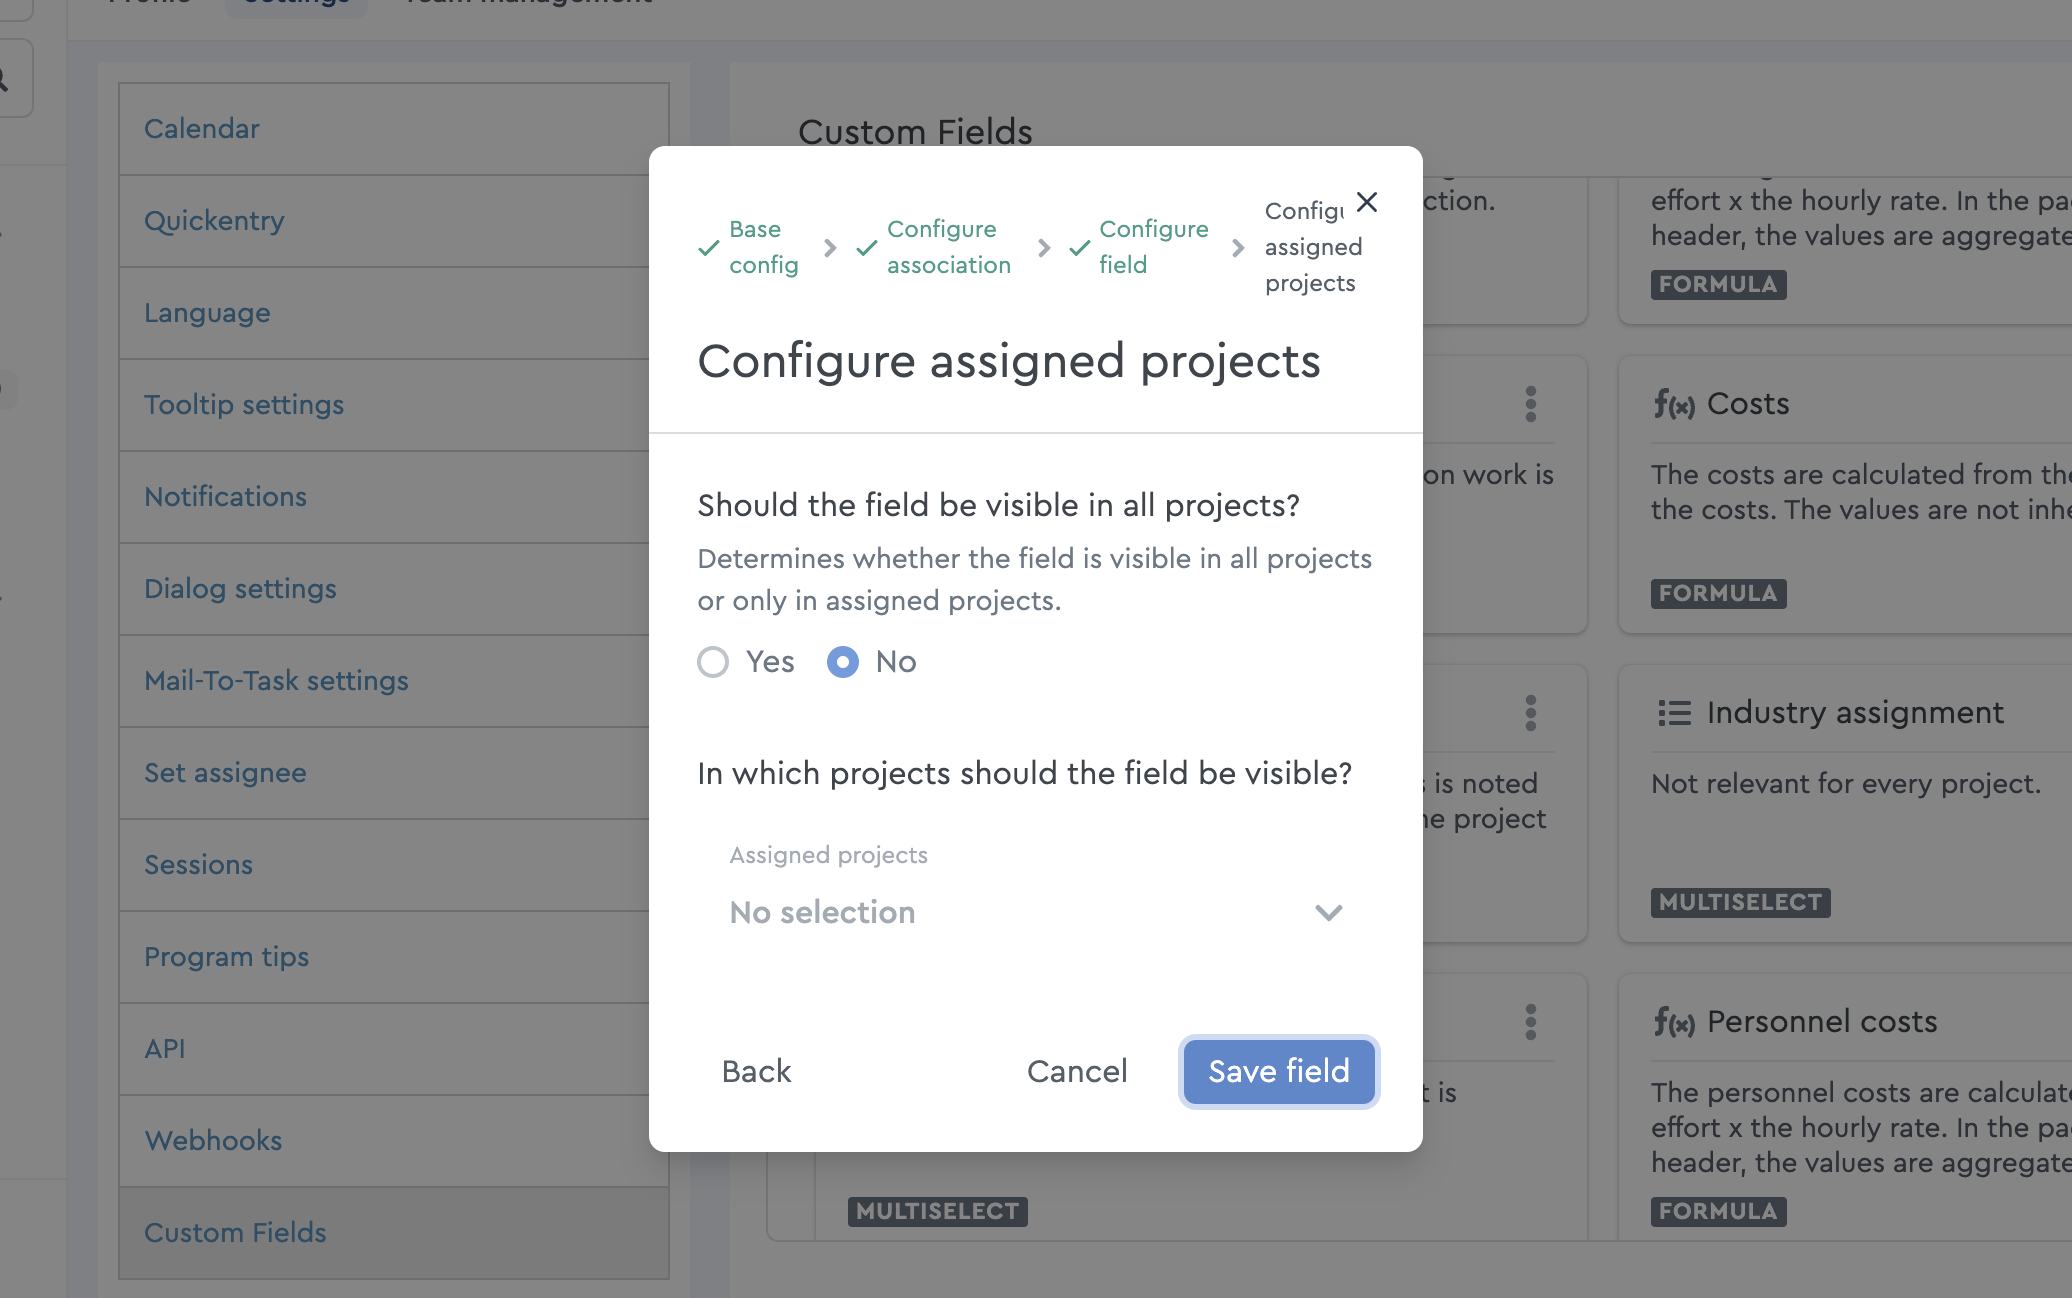 Global or specific project assignment is already possible during creation
If you, as a planner, want to use a custom field in your project, click on the project header and select “Manage custom fields” via the three dots in the context menu. Now all custom fields you can use for your projects will be displayed.
With the slider at the respective field, you activate it for this project.
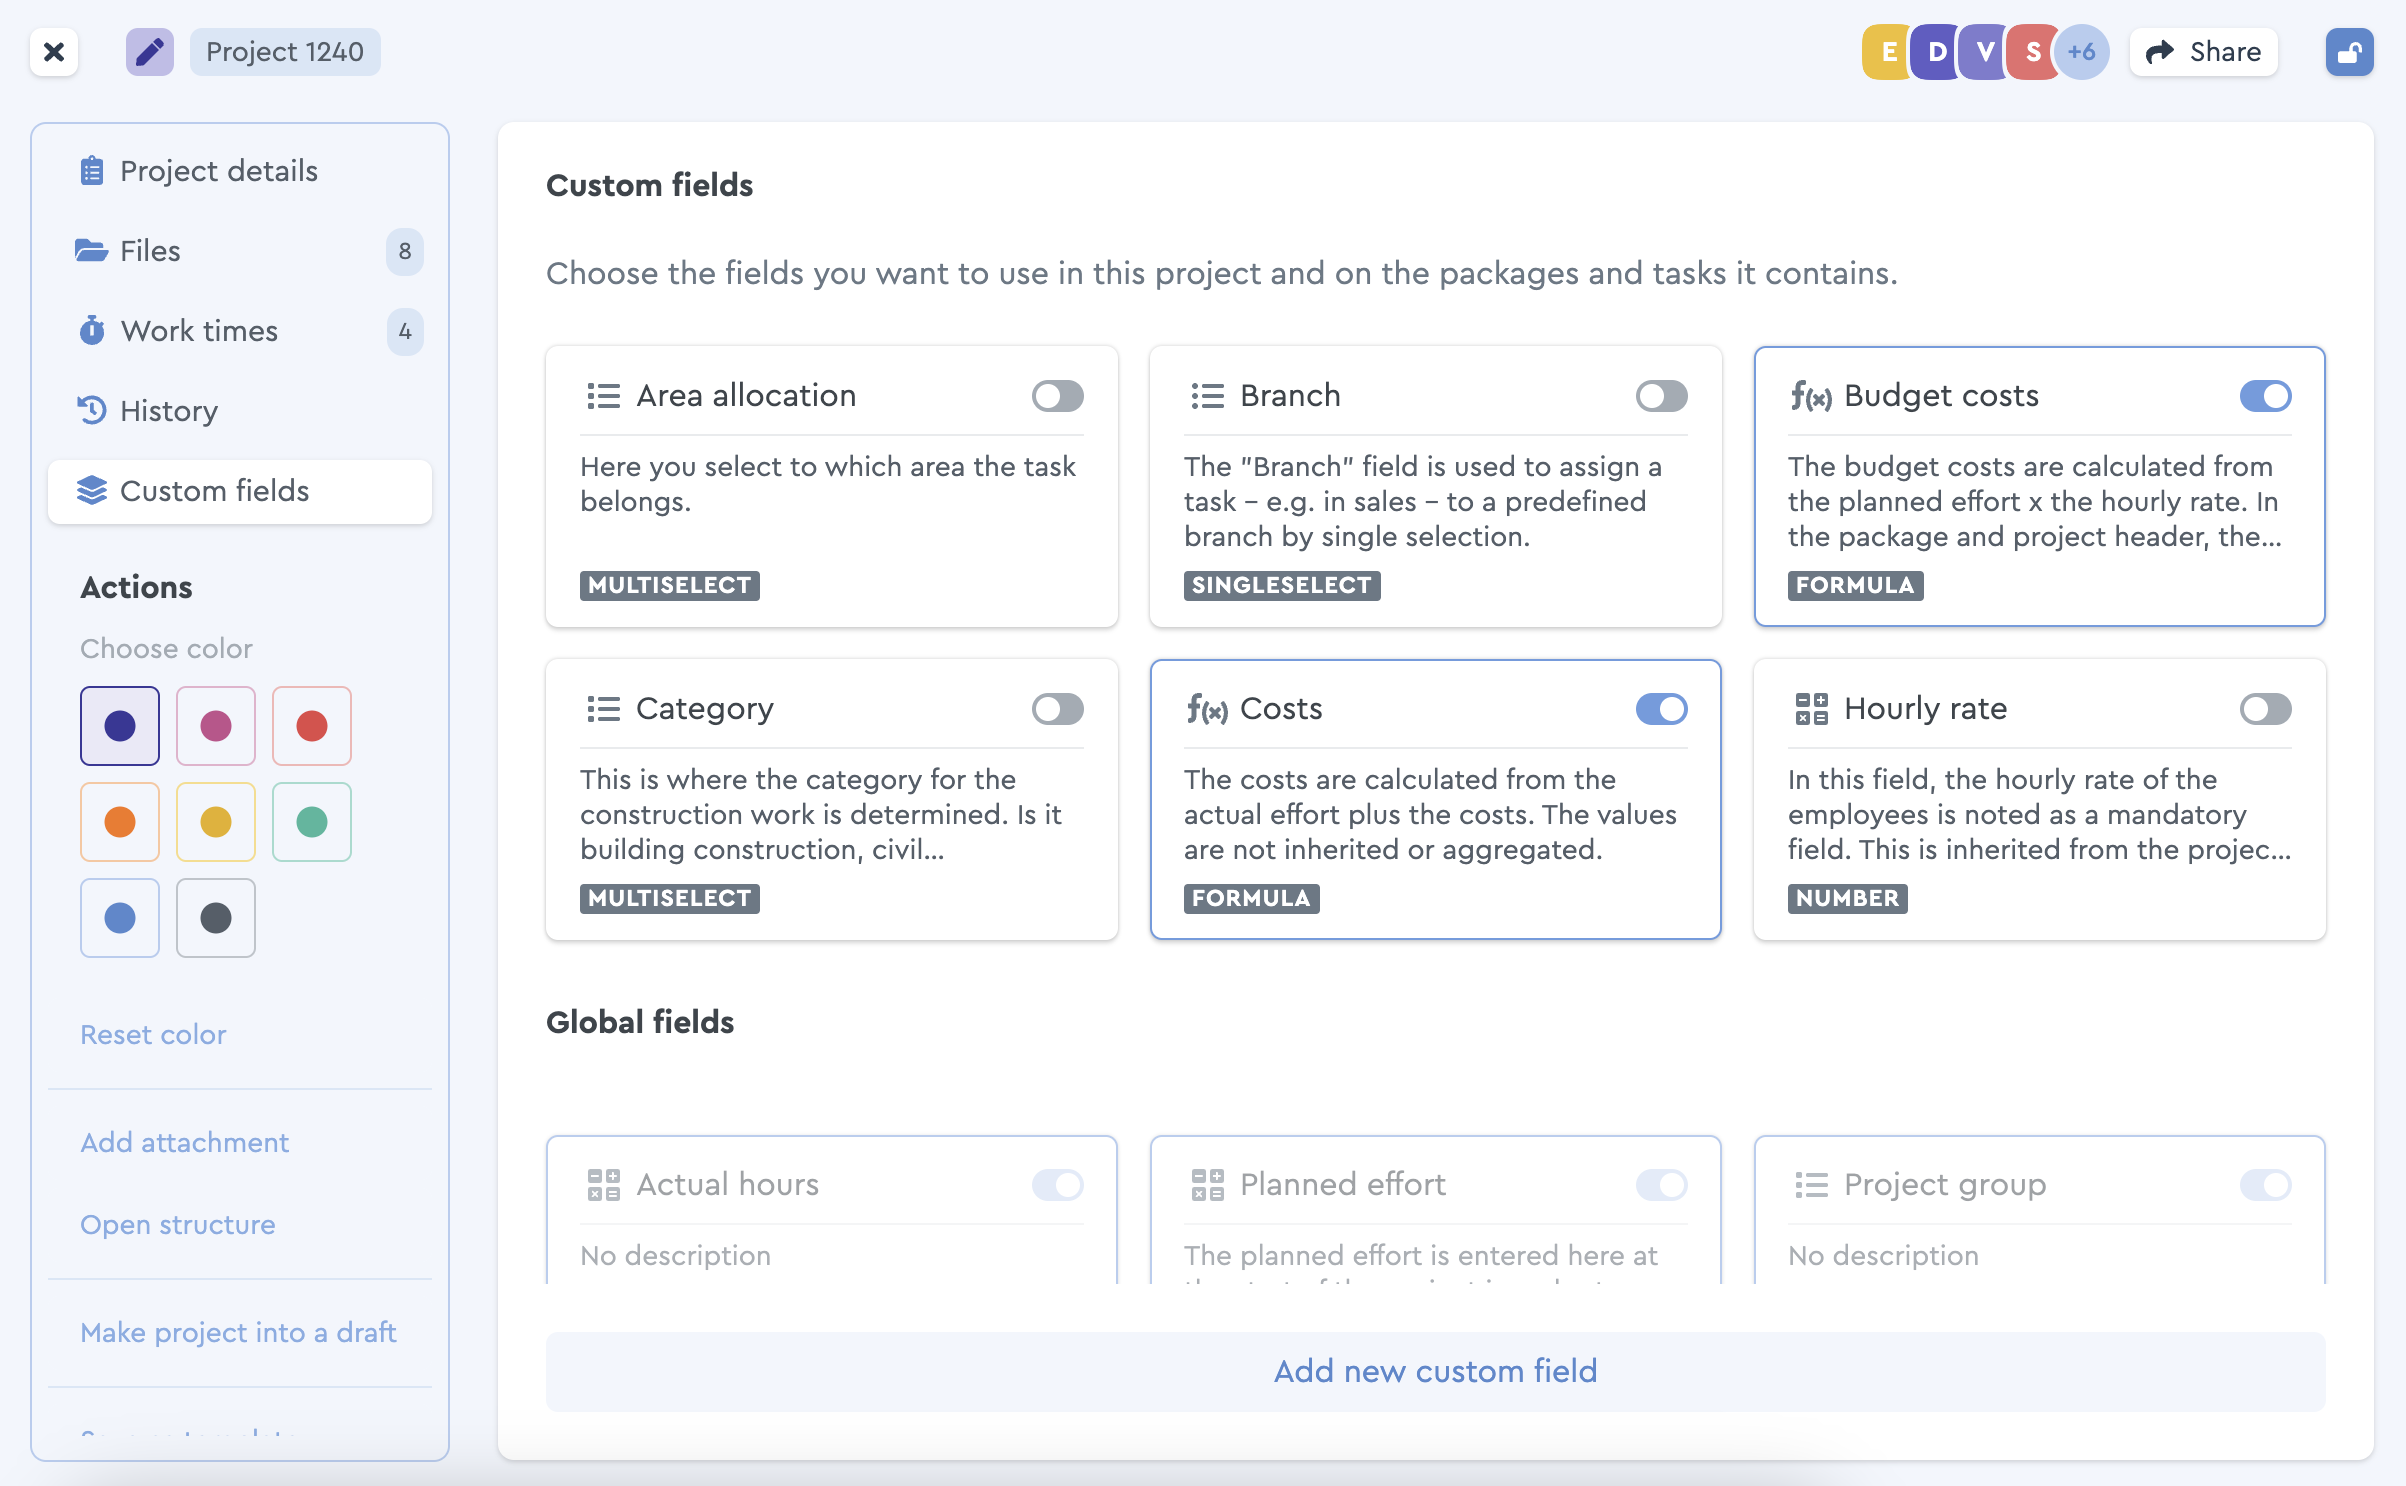 The slider is used to select a custom field
As a result, the custom field is used in the whole project and therefore included in all packages and tasks. Partially, this custom field cannot be hidden.
Display custom fields
Like any other project-specific settings in factro, you can display or hide custom fields in your project – according to which view you need.
For that, switch to the table view within your project and select the item “Field list” via the settings wheel (in the upper right menu bar). Now you can decide which custom fields should be displayed by ticking off the respective boxes.
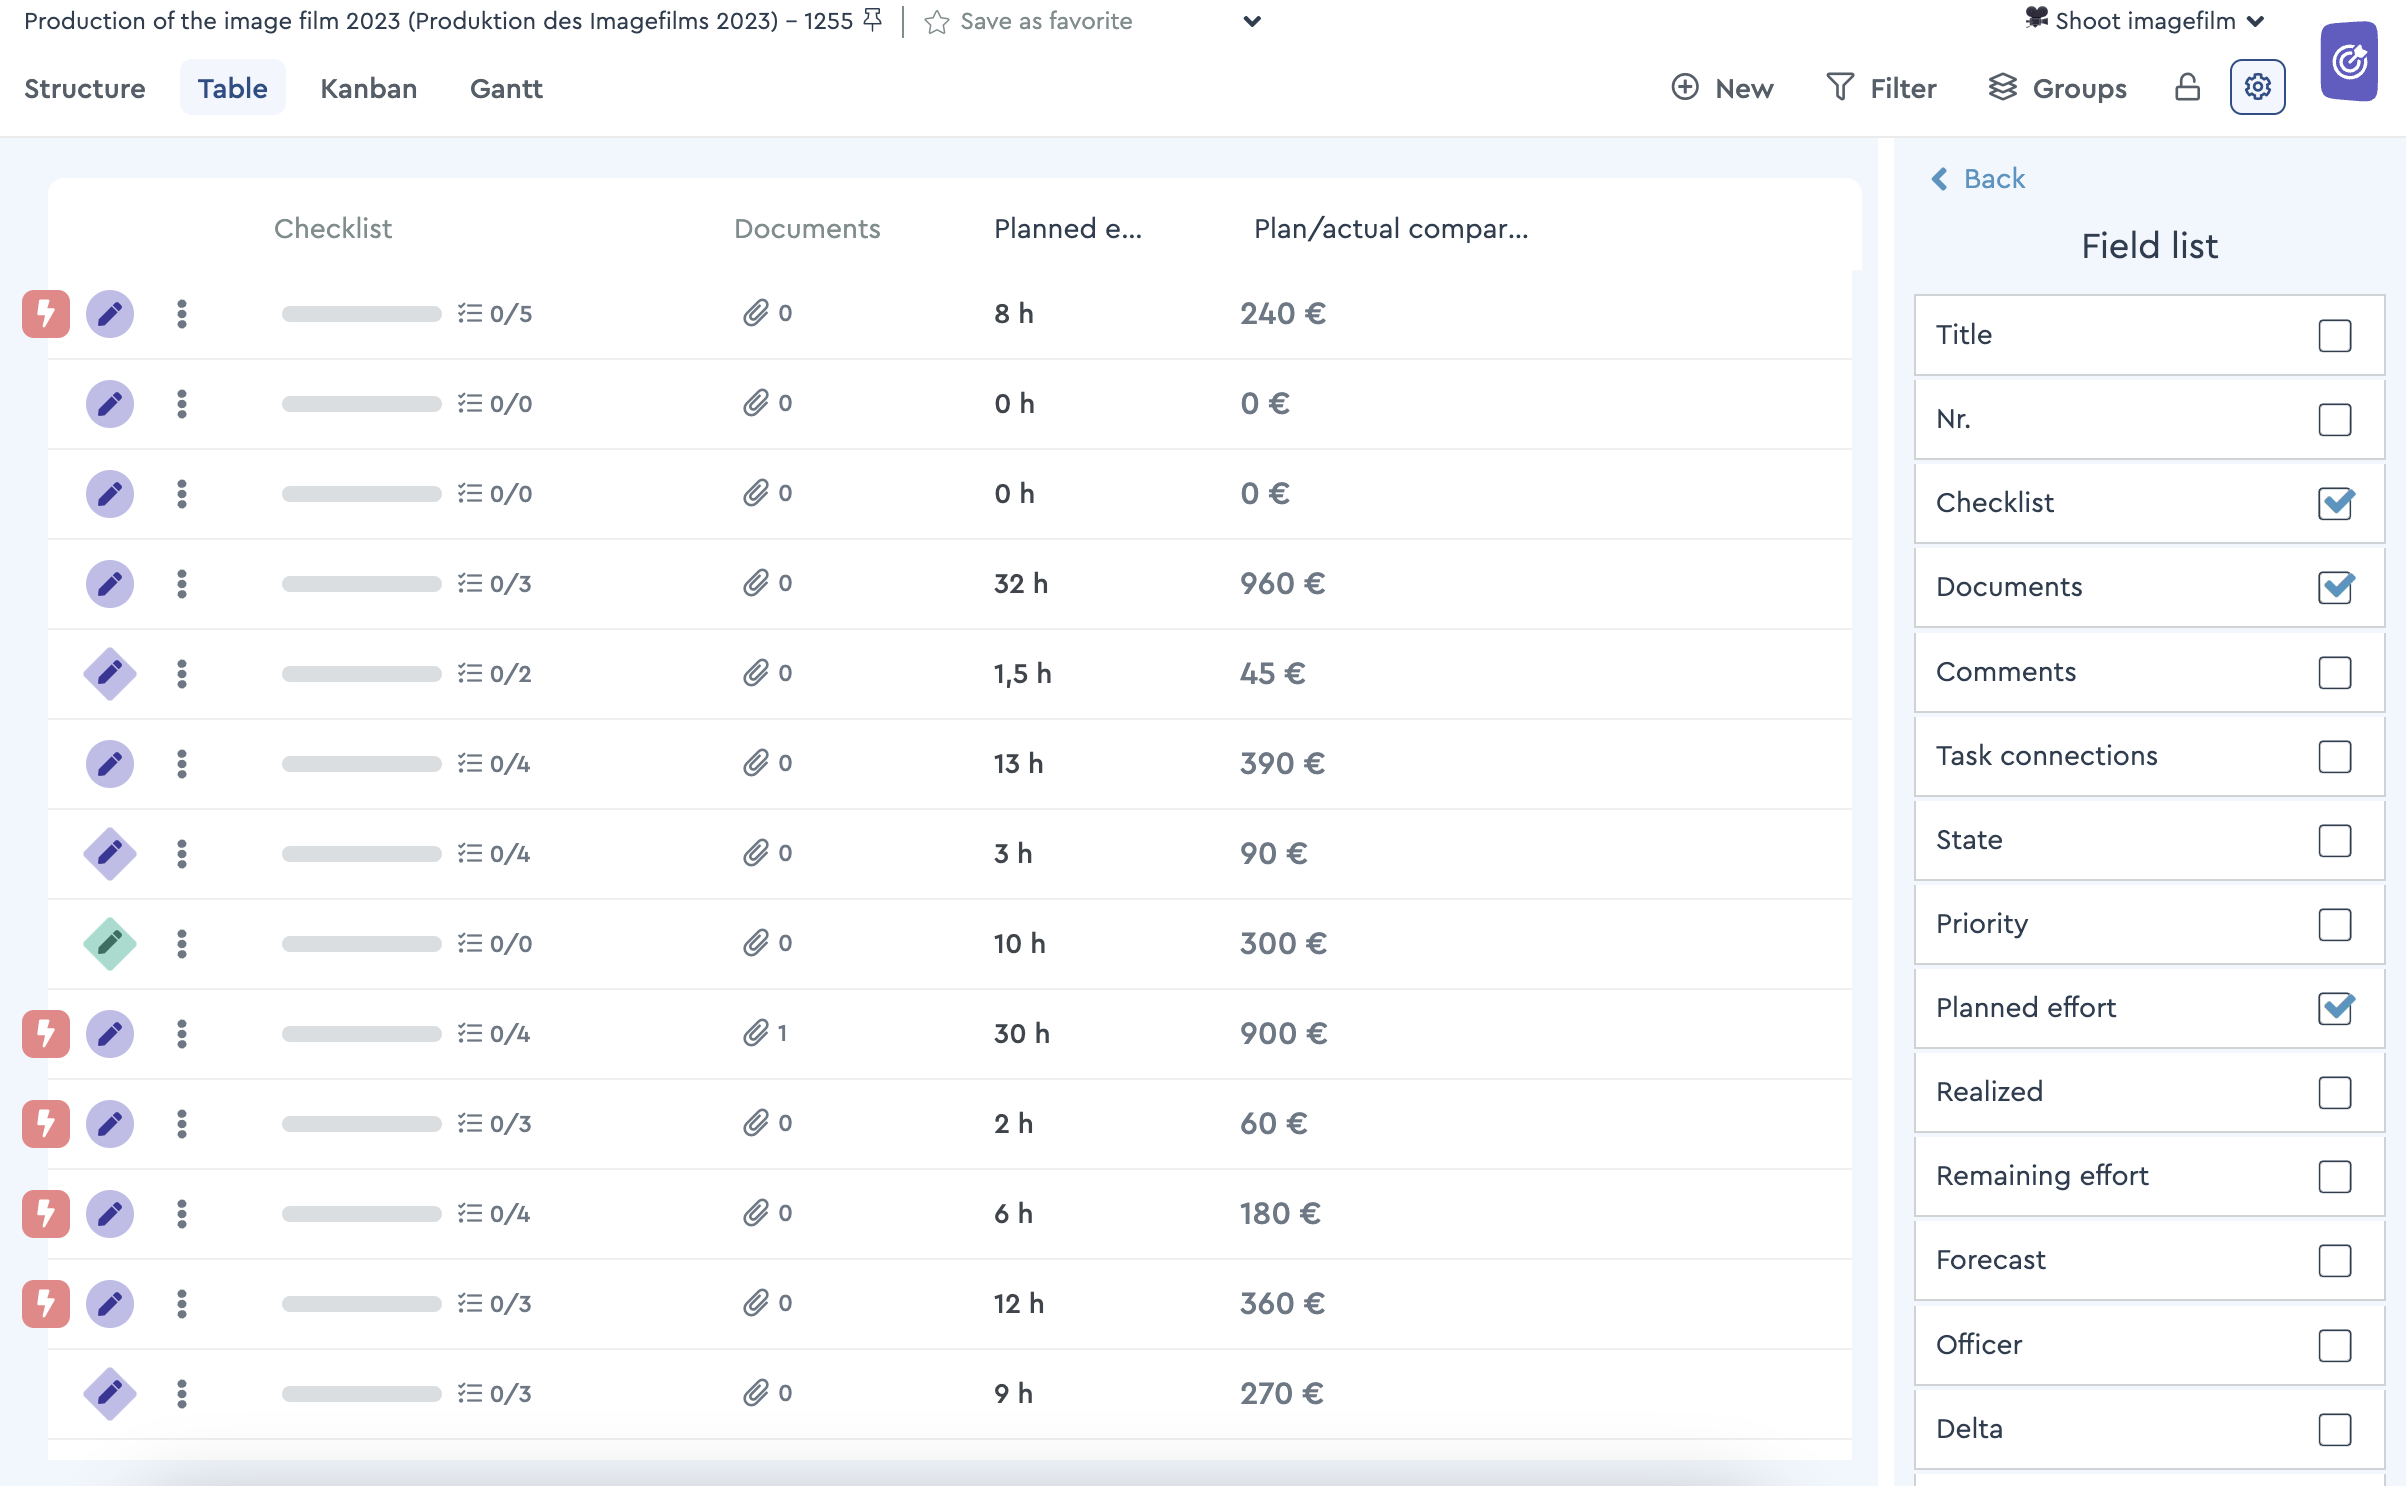 Via the field list the custom field is made visible as a column
You can also group project elements according to custom fields in the table view.
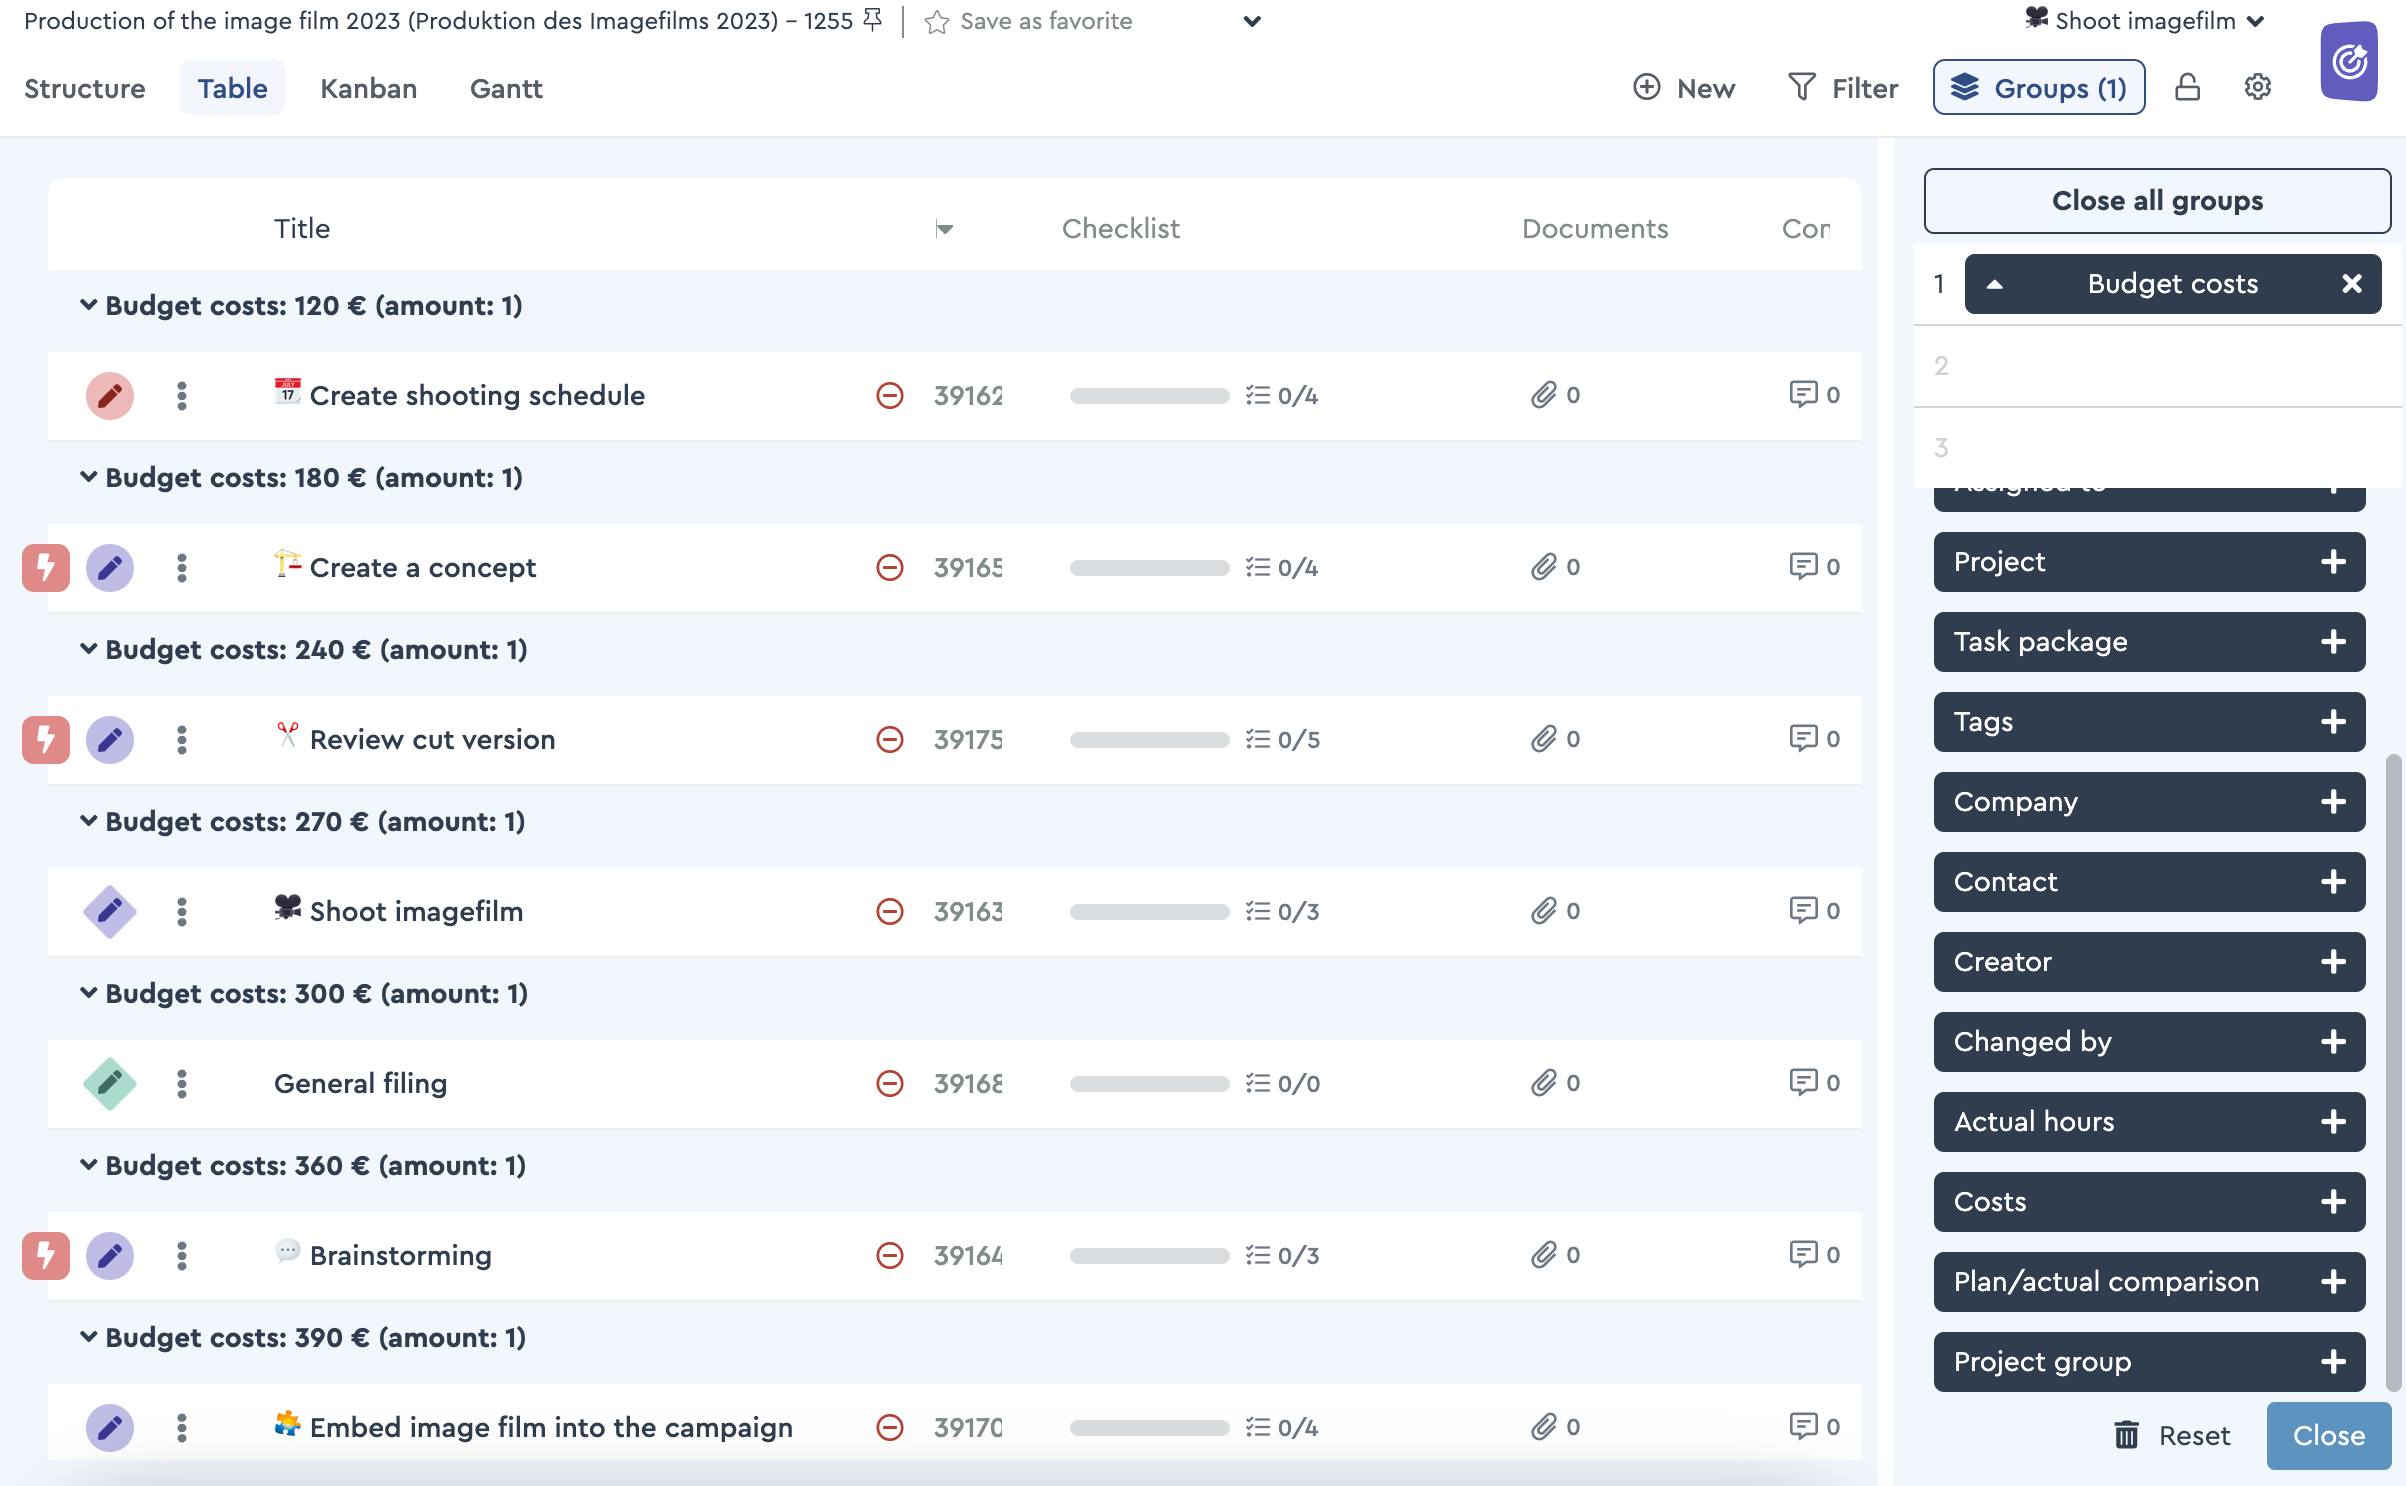 The project is grouped according to custom fields
Besides, you can filter and sort by custom fields.
Please note: In the custom field type “Text” it is not possible to filter.
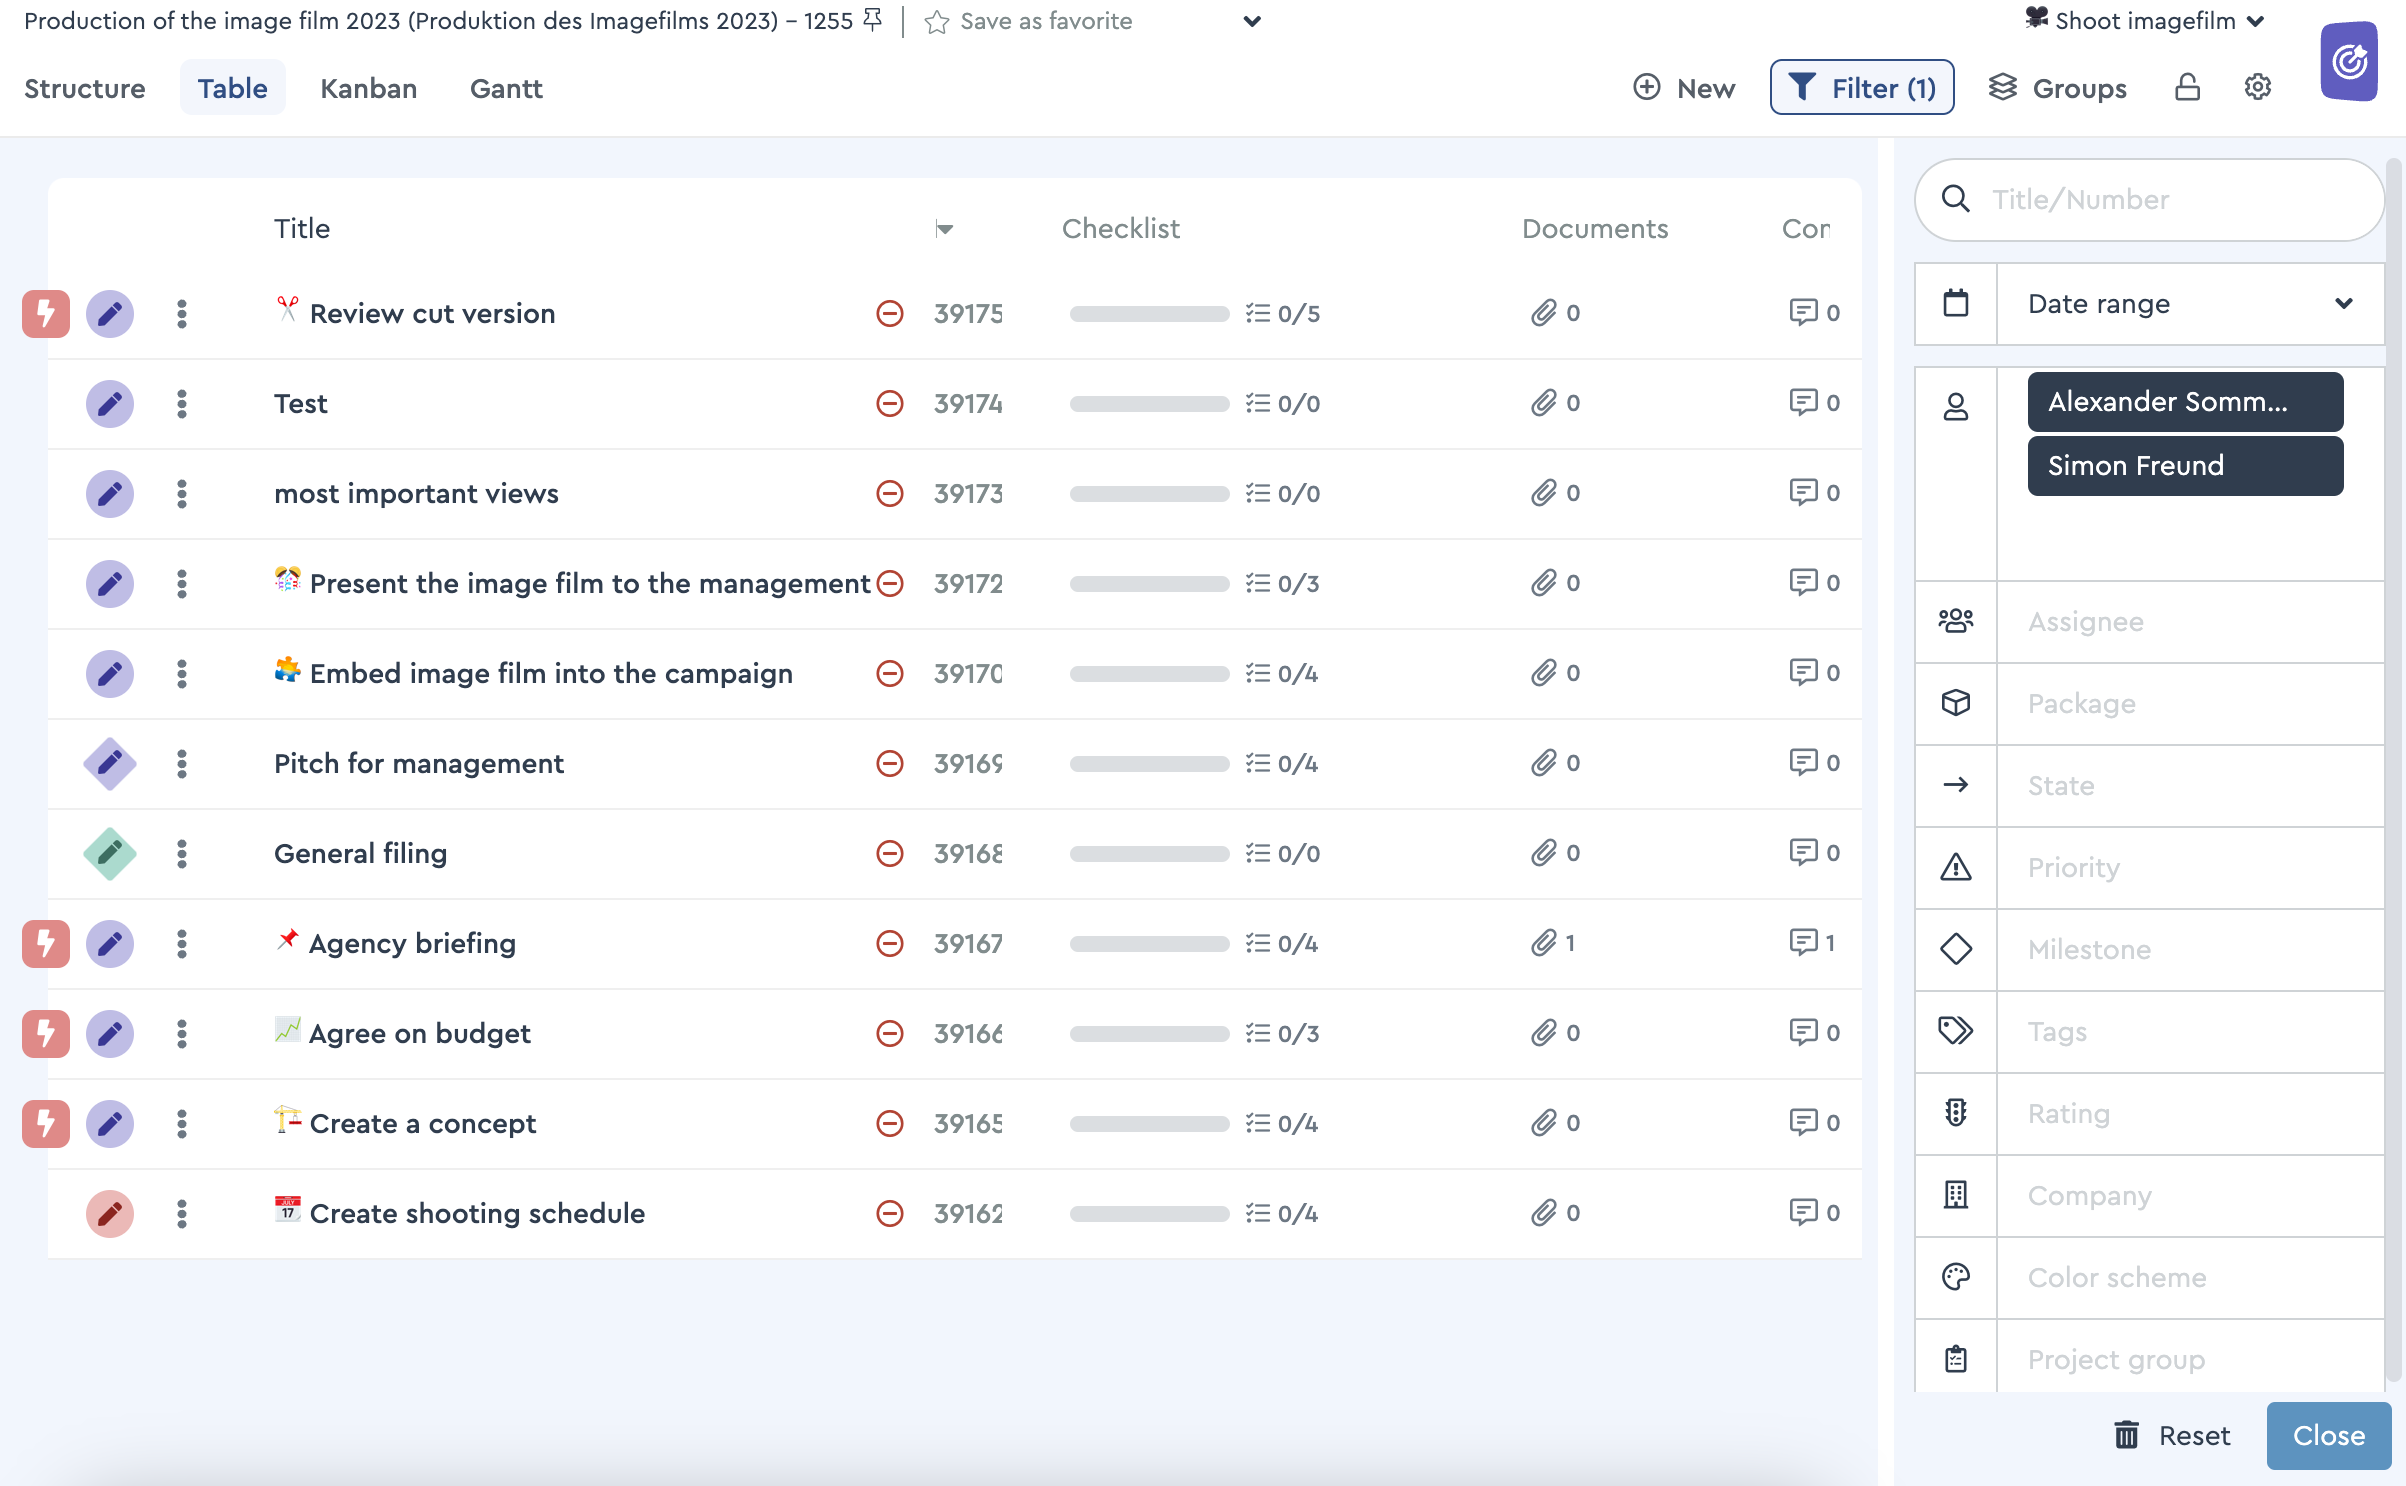 The project is filtered by custom fields
This is how you can adjust the table of your project according to your preferences and set a focus on custom fields.
💡 Tip: Save your preferred views including the custom fields while creating a favorite, so you can get to your configured view with just one click.